Instant Spell Scrolls

Creating props for your DnD game is a fun way to add to the experience. Spell scrolls are easy to make. Here, we’ll show you how to create one in five minutes or less. Then we’ll show you a few embellishments, adding weathering effects, burns, and even a wax seal.
In the example below, we’re going to create a spell scroll for the Silence spell. We’ve used this same strategy to create letters, puzzles, and other DnD artifacts. We hope you take this project and make it your own. Because it is a surefire way to excite your players.
The Materials
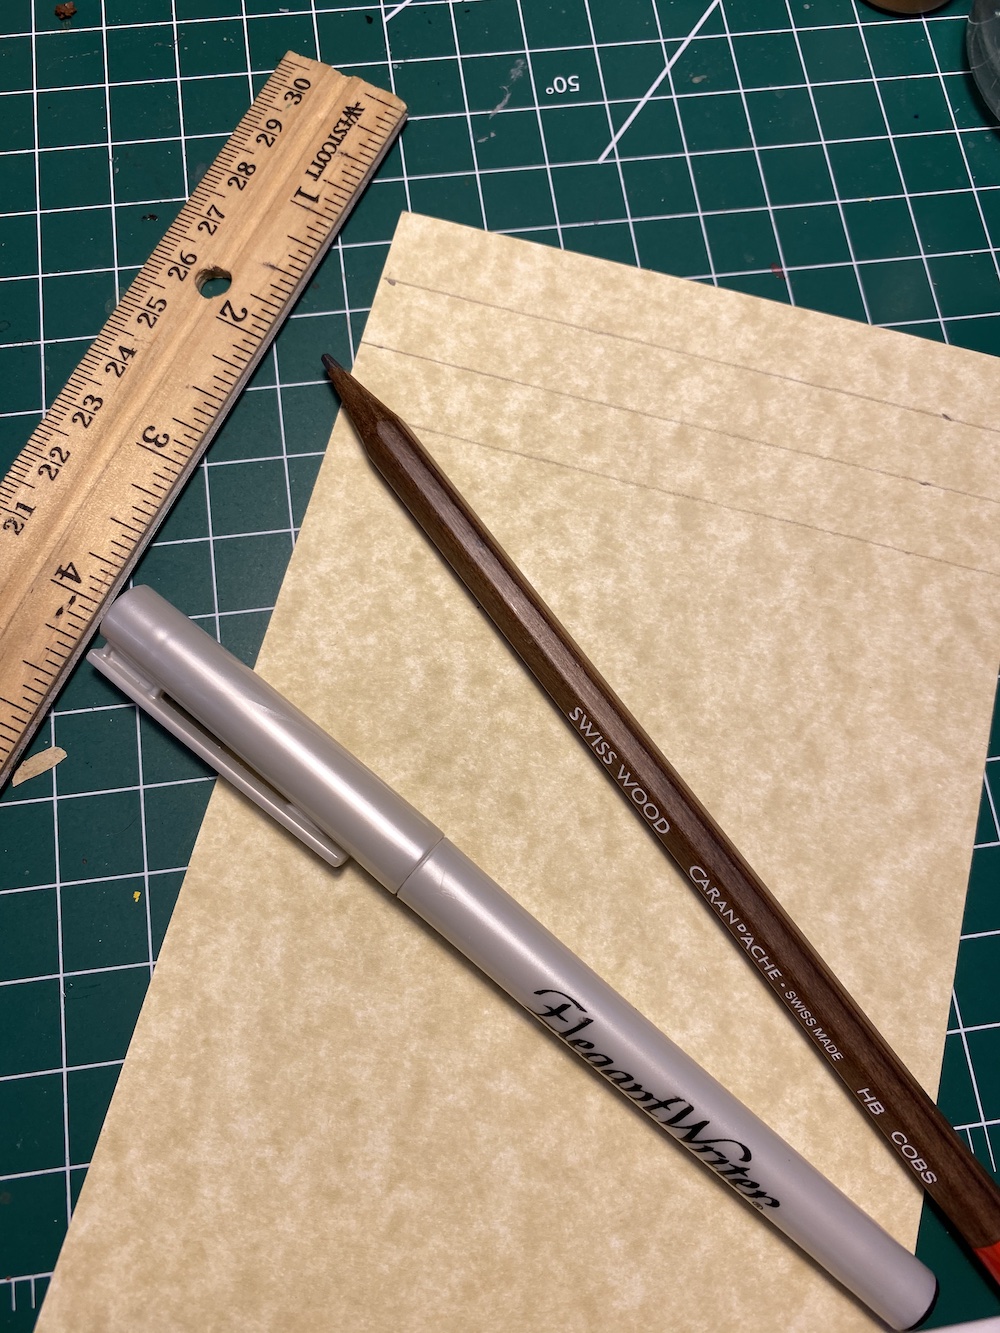
Really, all you need is a pen, paper, and a bit of ribbon, string, or leather. Here’s what we used for our basic spell scroll:
- 1 small piece of parchment-looking card stock
- A pencil
- A ruler
- An eraser
- A calligraphy pen
- A piece of leather (though ribbon or string would have done just as well)
When it comes to the extras, you might need to make a trip to the hobby store for inks, embossing powders, or sealing wax. But all of these things are optional.
Step 1: Measure and Mark
We started by measuring out and marking some lines to guide our writing. In addition to a top and bottom line, we find it helpful to mark a middle line for lowercase letters.
It is good to make these lines faint, as we’ll be erasing them later.
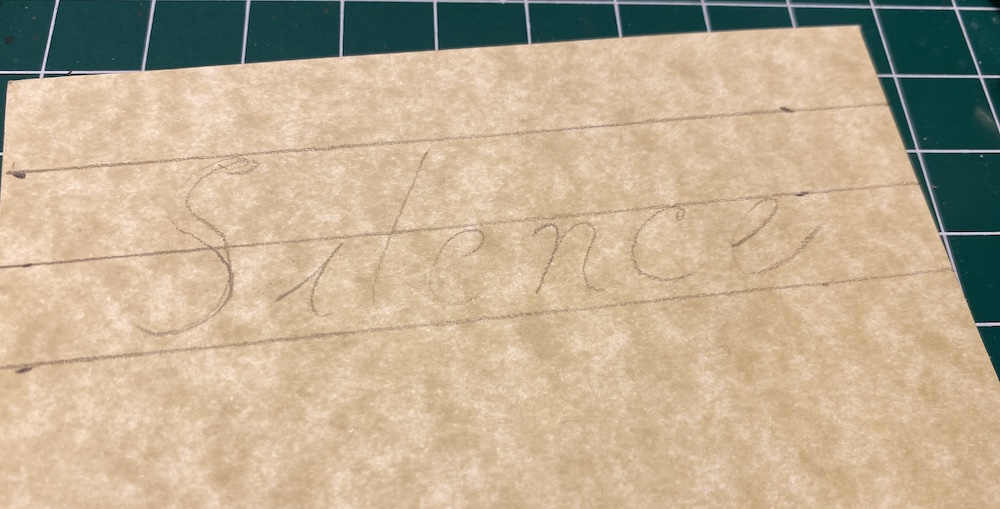
Step 2: Pencil in the Letters
A good calligrapher does not need to pencil in their letters. We, however, are not good calligraphers. So we penciled in the letters first so that we could erase them later.
There are lots of calligraphy references online. Believe it or not, Pinterest is a great resource.
We are done with the hard part already! From here, it’s a matter of tracing, erasing, crumpling, and rolling.
Step 3: Tracing with a Calligraphy Pen
The most important thing in this step is to get a pen with permanent ink. We tried with a non-permanent pen, and the ink smeared and bled during later steps.
A calligraphy pen has a flat nib, which leaves ink wider on some parts of the stroke and narrower on others. Even writing in elementary school cursive looks elegant when you use a calligraphy pen.
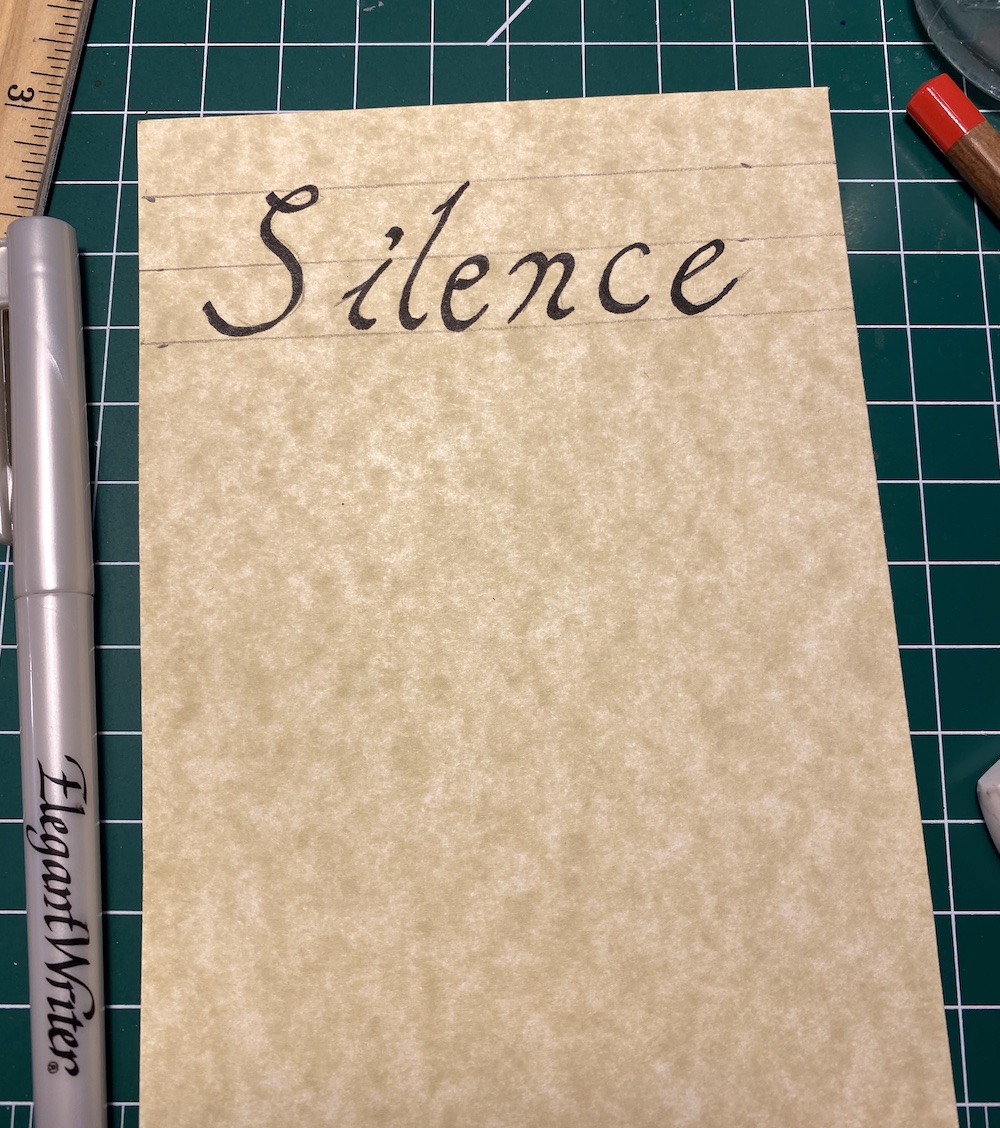
We rushed it a little, leaving a few gaps. But these little details will not be visible when we are finished.
Step 4: Erase Guides
Now that we have our permanent ink down, it’s time to erase the guide lines. We advise waiting a few minutes for the ink to dry before proceeding to this step. If you used a fountain pen instead of a felt tipped pen, you might want to wait even longer.
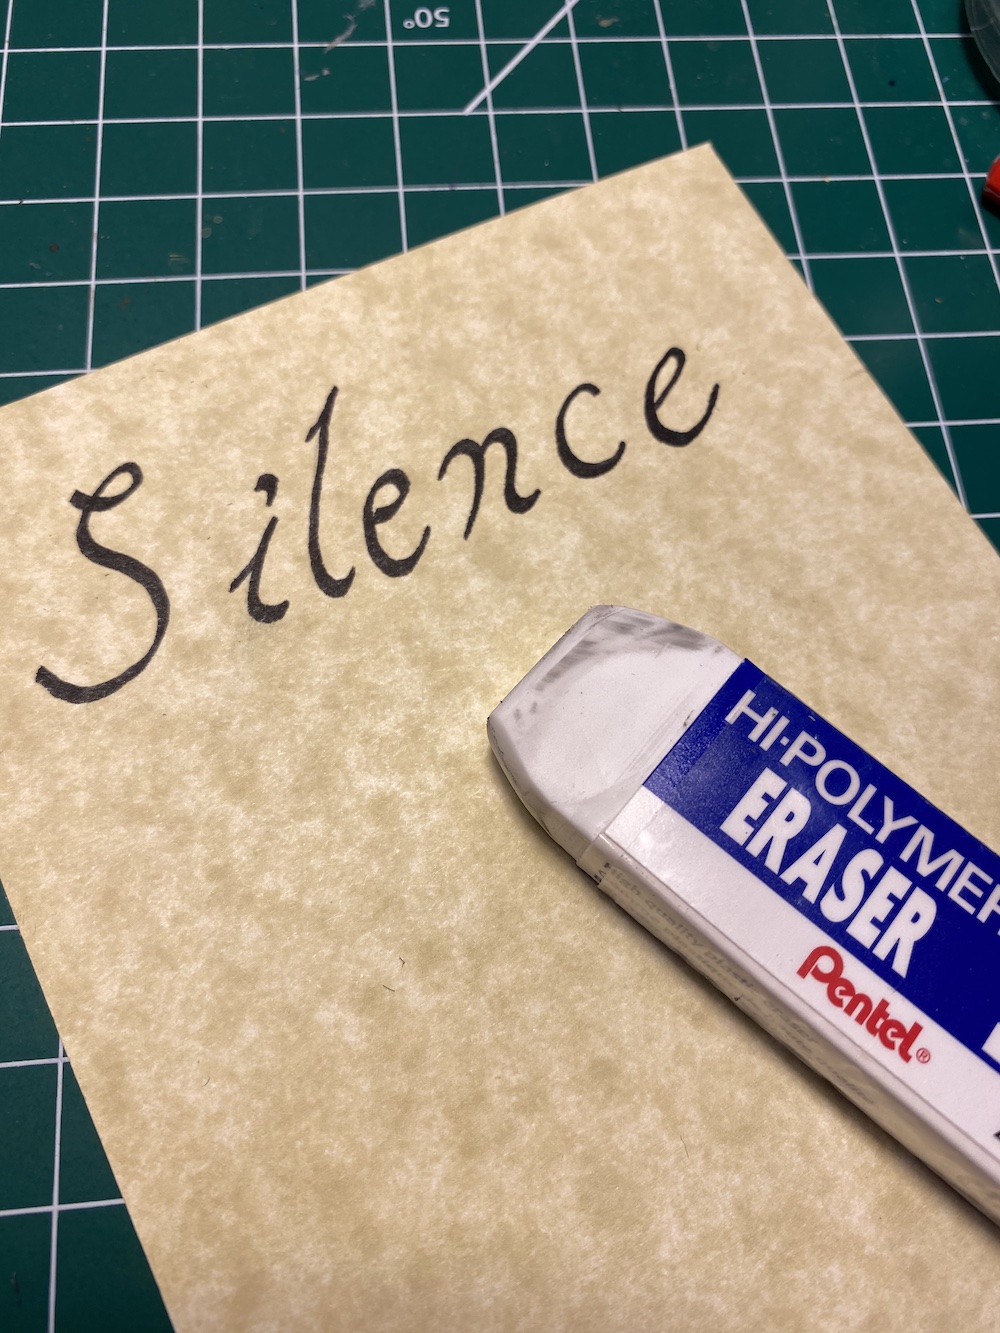
We used an artist' eraser (rather than the pink nub on the back of a pencil) because it works better. The trick is to apply gentle pressure. Sometimes it takes a few passes before all of the guides have been thoroughly erased.
Step 5: Crumple
Now we are to the fun part. It’s time to crumple the paper. Originally, we made a video of this. But two minutes of crumpling and uncrumpling paper might actually be the most boring thing to grace YouTube.
Crumple up the paper into a tight ball.
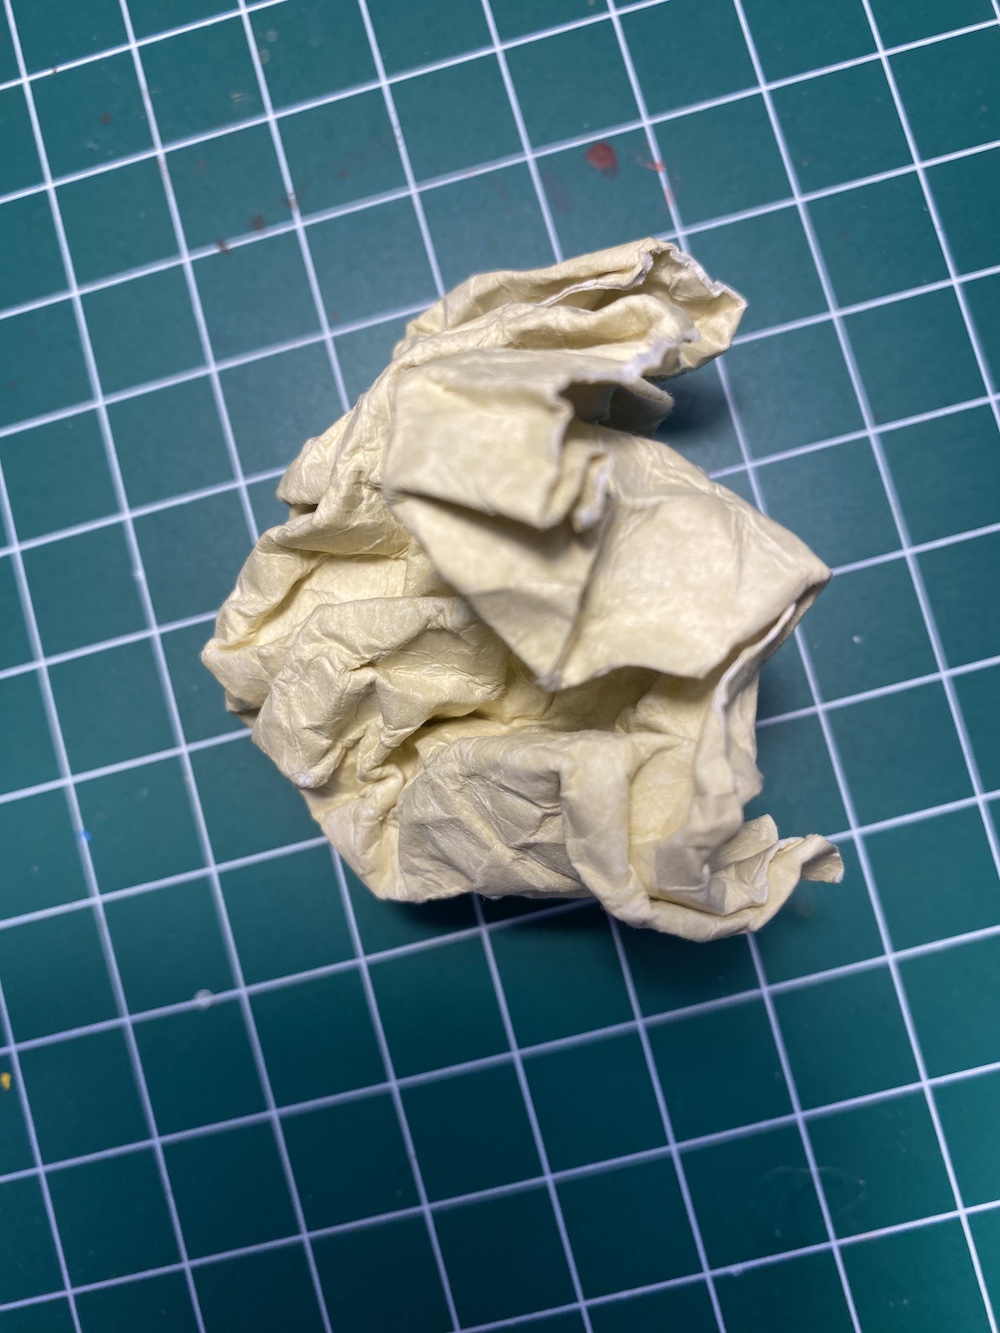
Spread the paper out. Then wad it back up again. Do this repeatedly for about 2 minutes. As you go, the paper should get softer and easier to crumple. The edges may fray or tear a bit, but that is great. Those little tears give the paper a weathered look.
After a few minutes of crumpling, smooth the paper out.
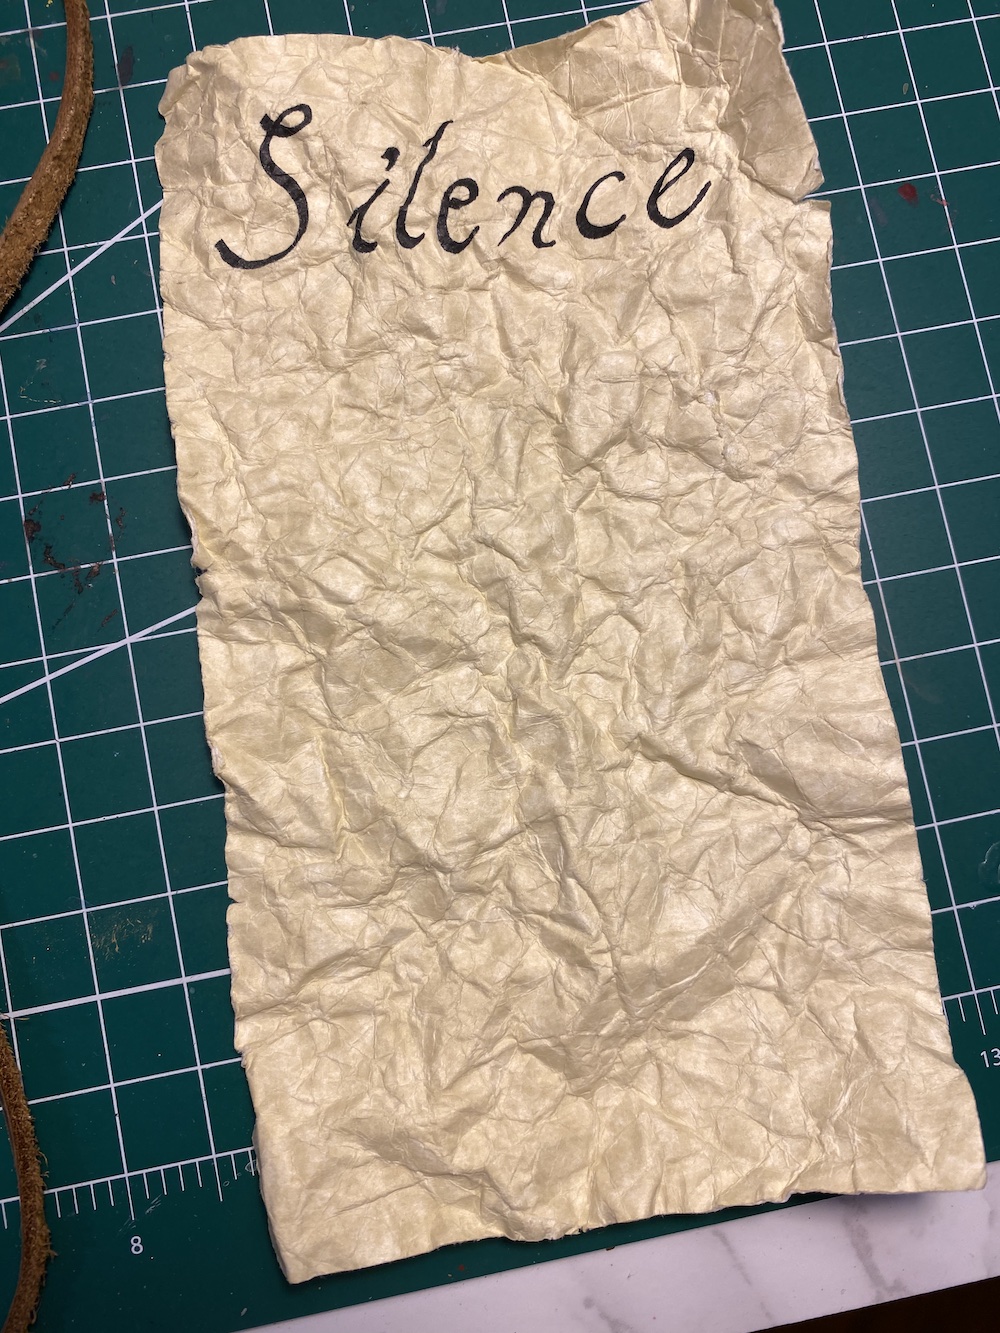
Even a thick card stock should smooth back and and lay relatively flat. We have heard of people ironing their paper to make it smooth again. Frankly, we’re not motivated enough to do that. And we like it the bumpy texture.
Step 6: Roll and Tie
We’re on the last step now! Roll up the paper into a scroll and tie it.
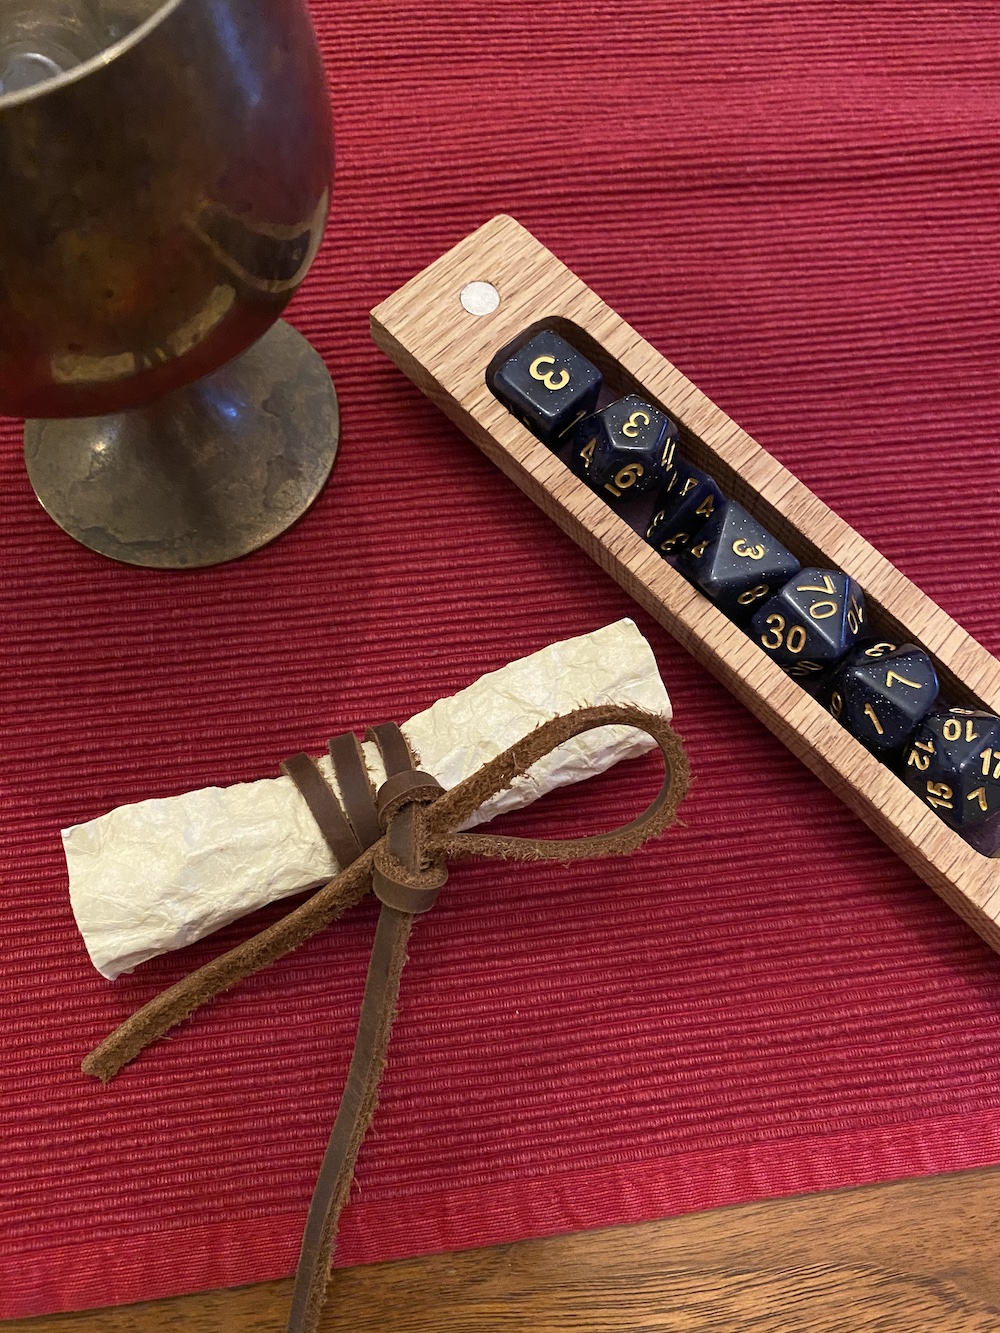
In our example, we used an old strap of leather. In the past, we’ve also used red or purple ribbon. A piece of twine or jute would also look great.
So that’s all there is to it. In about five minutes (plus or minus crumpling time), you can create a quick and easy spell scroll.
But Wait! There’s More!
Looking to add an extra touch? Here are some other quick and easy things you can do.
Fake Burned Edges with a Marker
We’ve tried this before: Burn the edges with a match. Yes, it works. And it’s great if your players love having black marks all over their hands. Snarkiness aside, if you have matches, Mod Podge, and some patience, you can do a burn effect and apply Mod Podge to keep down the smearing.
But we’re impatient. So we tried another technique: Using a Sharpie, line the edges of the scroll.
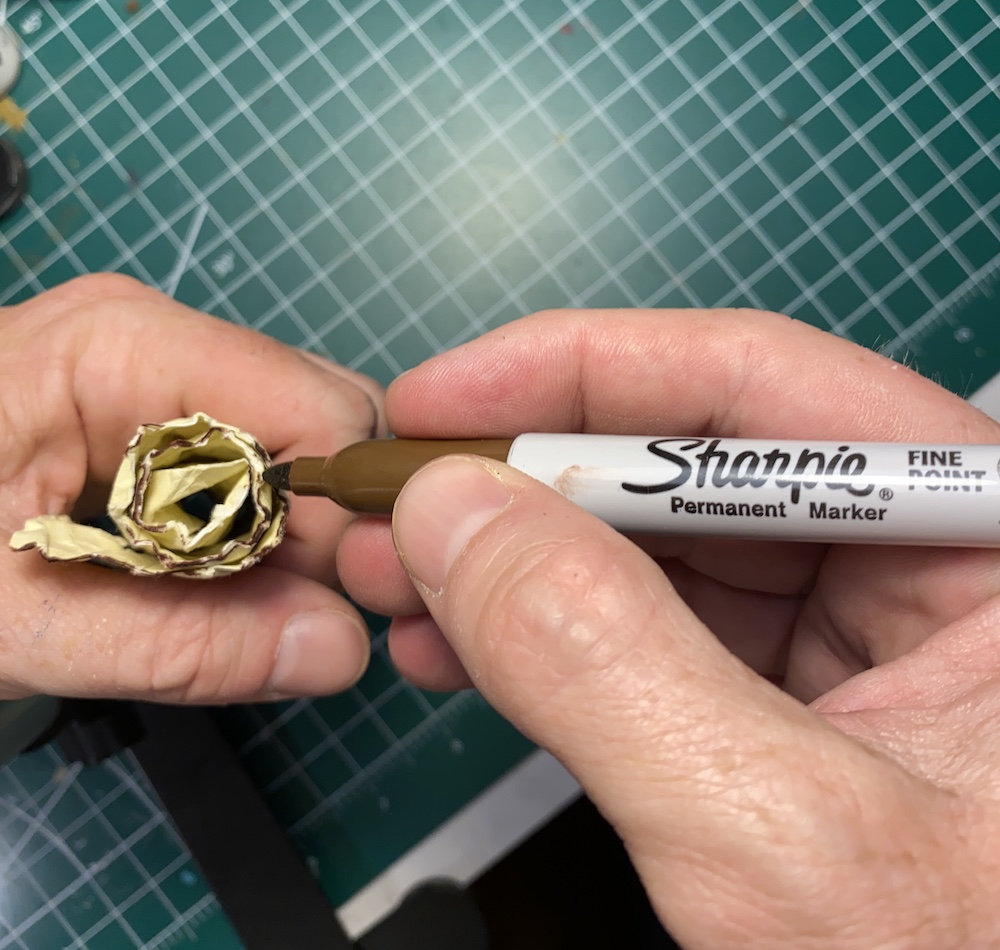
You will need to unroll the scroll to get the top and bottom edges. We used a brown marker, be we think black or even dark grey would work well too. When finished, this will give a subtle aged look to the edges.
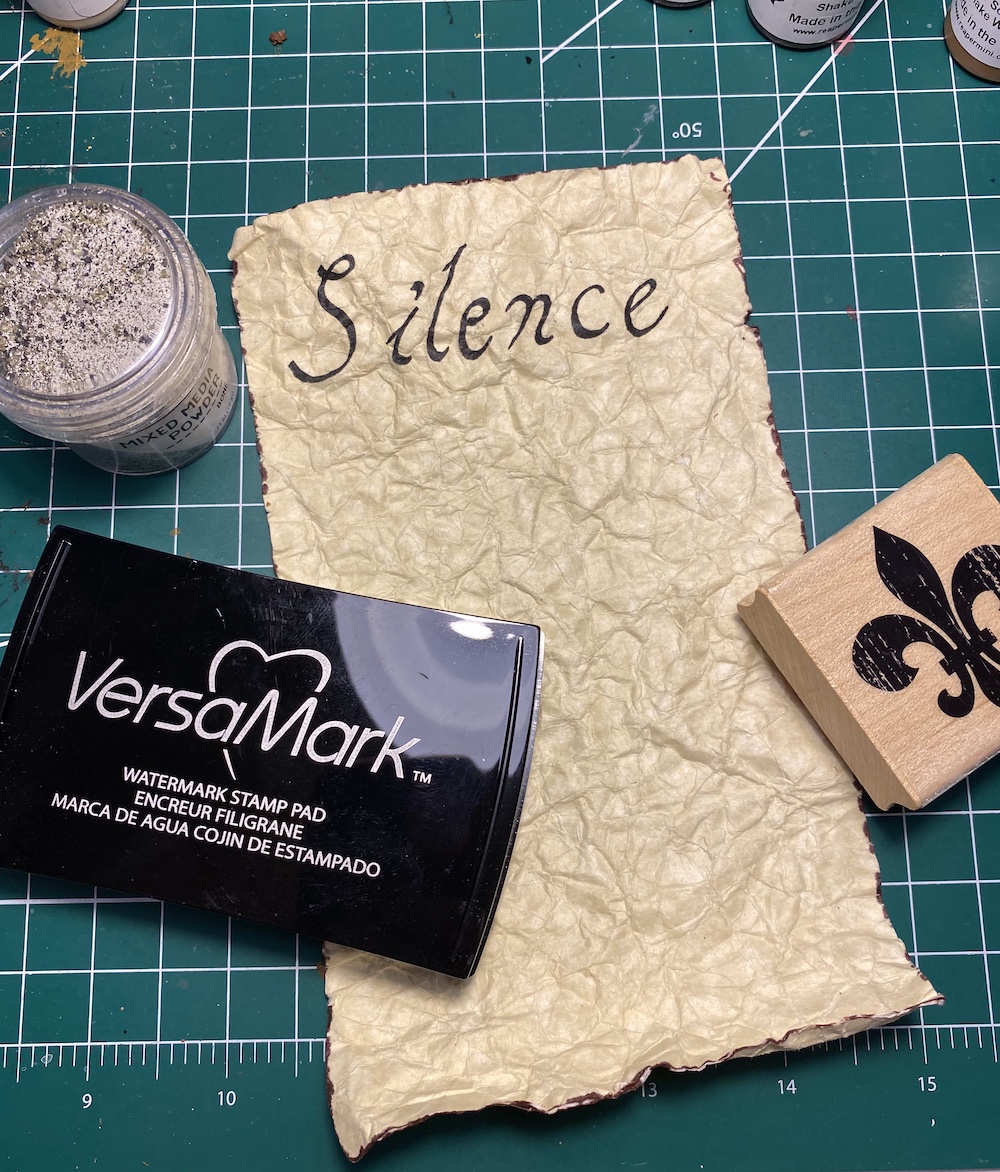
Amp Up the Text with an Embossed Stamp
Stamps are not just for scrapbooks. We have a sizeable set of stamps… mostly skulls, dragons, and things that look like heralds and crests. You can use a permanent ink and stamp the paper before crumpling. We wanted to try embossing the stamp, and since crumpling would damage the embossing, we tested out embossing after crumpling.
There are a variety of embossing inks. Our favorites are mostly metallics. But we decided to try this interesting bone effect.
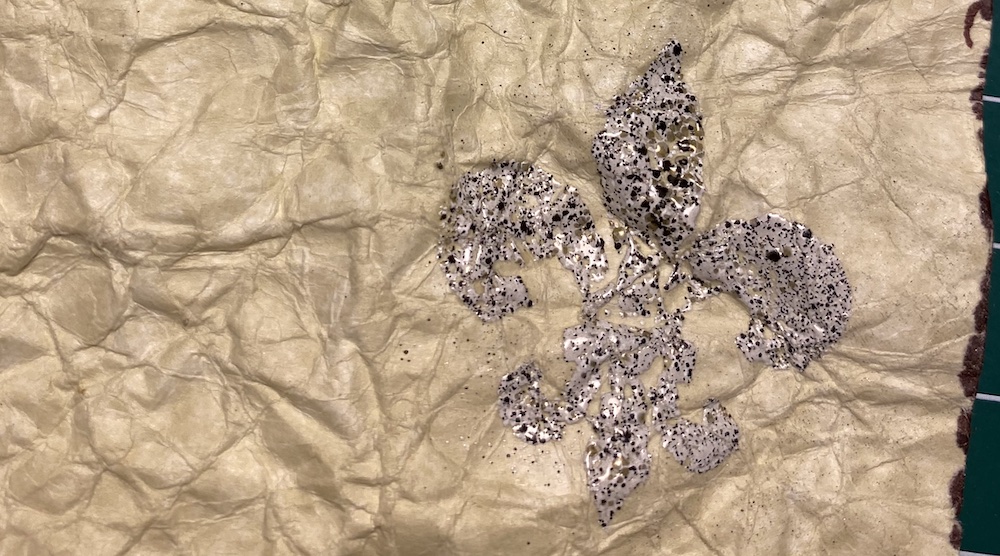
The stamp and powder worked fine. In the end, the colors are probably not the best. Perhaps we should have gone with gold… or blood red. Blood red is always good.
Weather the Paper With Distressing Ink
We’re big fans of distressing ink. The yellow and brown stamp pads make it super easy to add an aging effect to paper. When doing these scrolls, you have two options:
- You can apply the ink before crumpling. This is great if you are using paper that doesn’t already look like parchment.
- You can apply the ink after crumpling. this will make the crumple marks really stand out.
We used a Distress Oxide pad and a round cotton applicator. This particular ink can be further weathered by spritzing water. But we didn’t do that in the picture here.
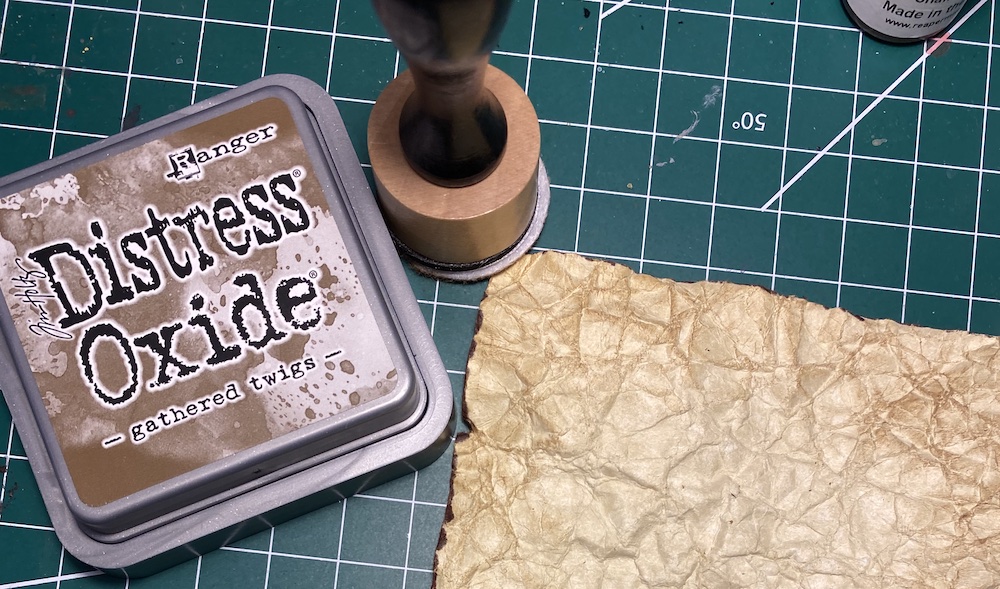
We only brushed the edges of the paper. So in the picture above, you can see the darker brown ink around the edges, while the middle is untouched. By applying only on the edges, the finished product looks like the sides of the scroll have weathered more than the middle (a plausible result for something rolled).
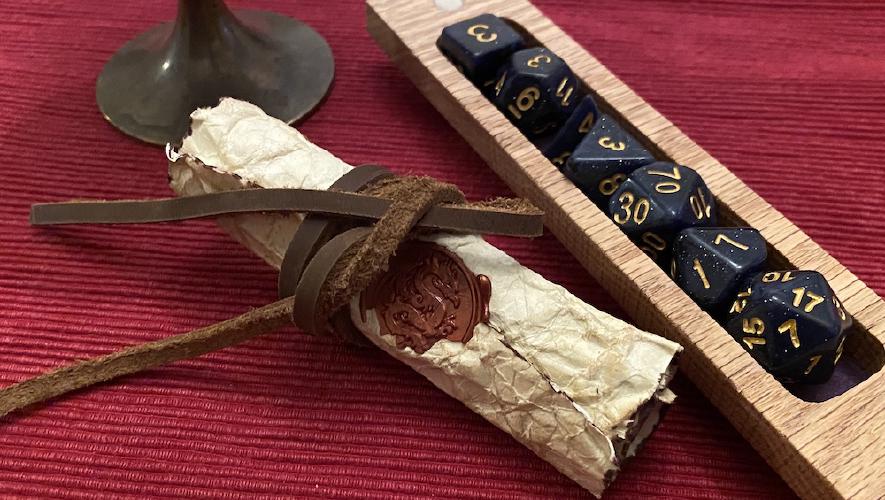
Seal the Scroll with Wax
For our last flourish, we took some sealing wax and stamped the scroll closed. This is a fun effect because your players not only have to untie the scroll, but also break the seal. It gives the feel of discovering something long hidden.
For this step, we pulled out the old wax and seal. You know, the one that’s been in our family since we bought it on Amazon a few months ago.
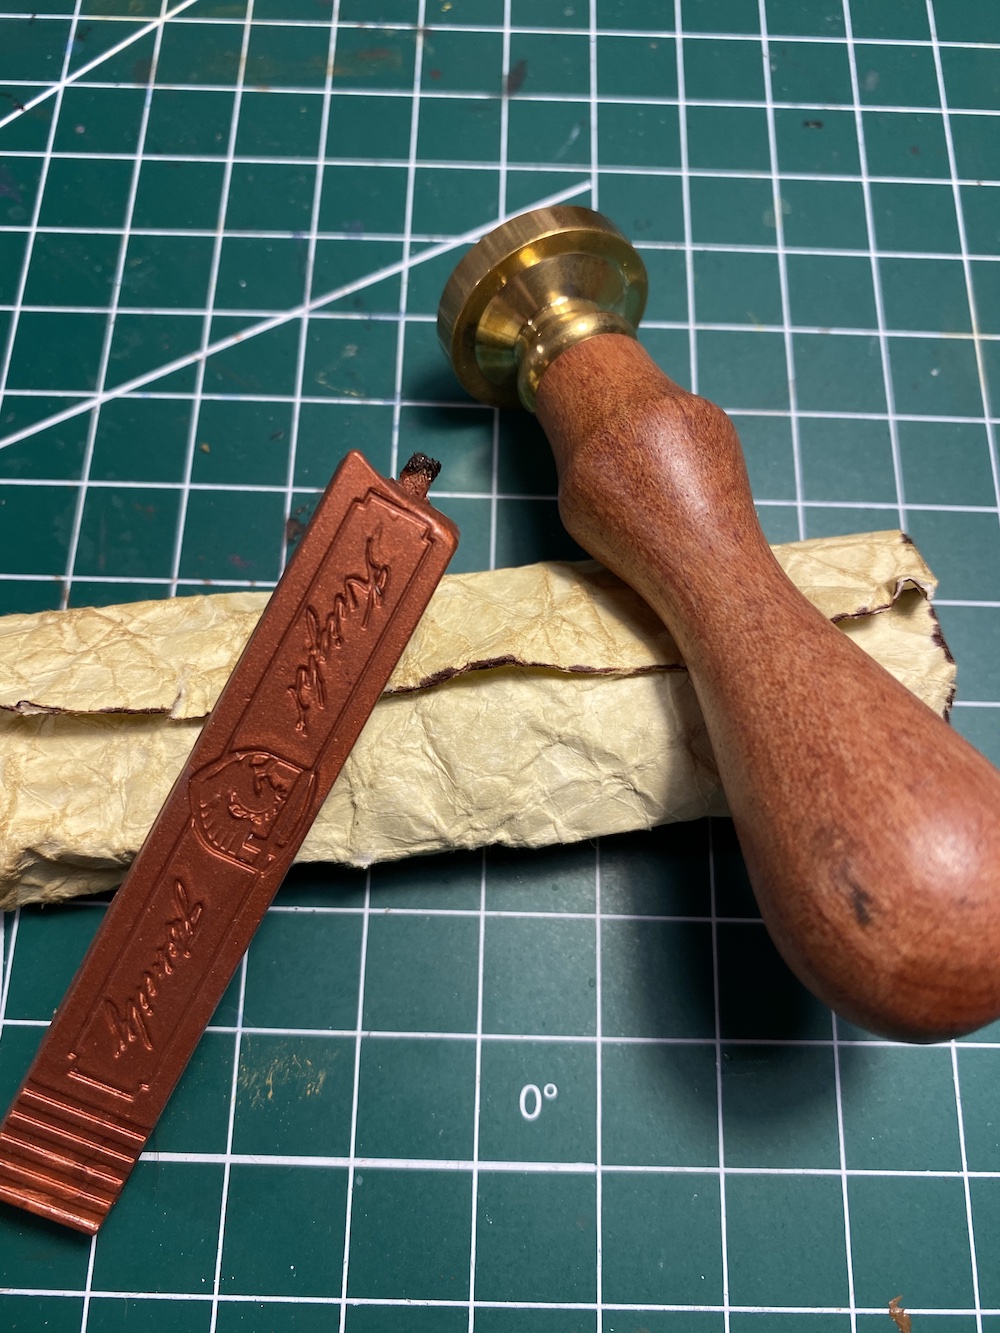
This part required squishing the scroll a bit. But it regained its form as soon as we were done. A thinner seal like this is easer for the players to pull off without damaging the scroll. It’s also more flexible so you can bend the scroll back into a round tube shape. You can put on a larger blob of wax for a thicker seal, which looks really cool.
Here’s our finished project with the fake burns, the weathering, and the seal.
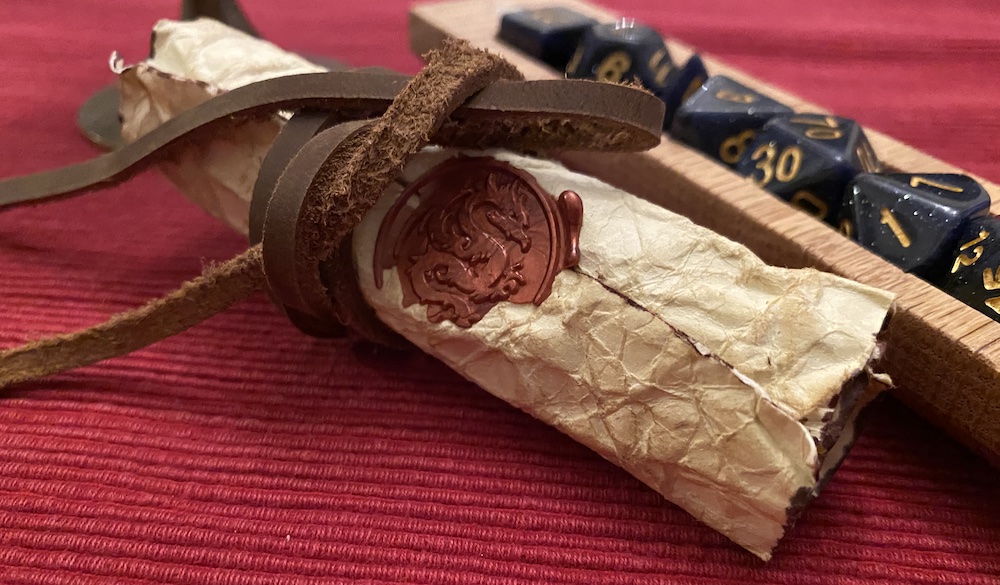
All told, even adding all of these flourishes, it took us about thirty minutes to make this scroll. We hope you make this project your own, trying out different techniques and materials to make your scroll a perfect fit your your campaign.